When shooting with low-light photography, it is important to remember that the quality of your photos will depend on the post-processing you do. High ISO settings can result in undesirable effects, and heavy tonal adjustments may be necessary to bring out details in the shadows and highlights. When possible, save your photos in their native RAW format so that you can make the necessary adjustments in post-production. Here are some tips to get you started.
Shooting with a tripod
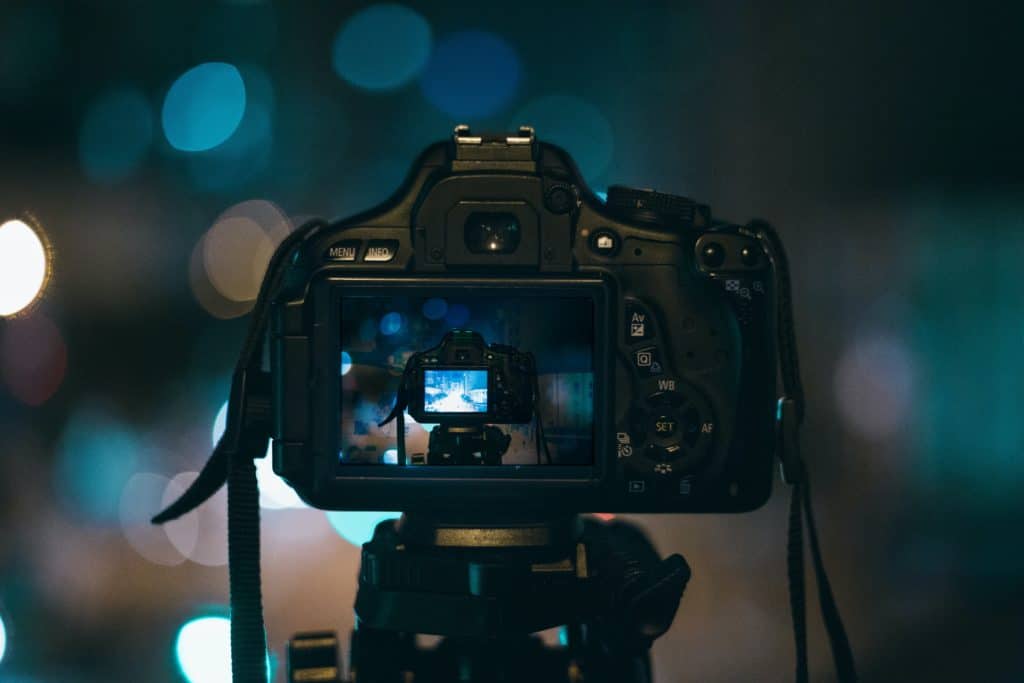
Using a tripod to avoid blurring the images when taking photos in low light situations is important. It is especially true when you use low to mid-range ISO settings, as they increase the chances of camera shake and blurring. Since shutter speeds also decrease, it takes longer for the camera to capture an image. If you are holding the camera while taking a picture, the movement will also affect the photo, so using a tripod will keep it steady.
Although using a tripod helps with low-light photography, there are several reasons that you should use one:
- It will help you maintain a steady shooting position and avoid blurring your shots.
- Shooting with a tripod can help you avoid blurring your subjects when they move.
- In addition to tripods, you can use a remote release or a self-timer to get a steady shot.
Shutter speed changes
One of the three most important photography settings is shutter speed. Along with ISO and aperture, shutter speed is responsible for creating dramatic effects and changing the brightness of your photo. In addition, this control can freeze action or blur motion. The higher the shutter speed, the less light your photo will have. Fortunately, shutter speeds are easy to adjust and can be useful for various types of photography.
The time the film or digital sensor is exposed to light is known as the shutter speed. It plays an important role in creating dramatic effects and helps narrate a story. A fast shutter speed is useful for capturing moments, while a slow shutter speed is used for narrating a story. Both shutter speeds affect the depth of field and can ruin a particular style. However, when shooting in low light, it’s important to experiment with each one and learn what works best for you.
Using a flash
One of the most important pieces of advice on using a flash in low-light photography is to ensure that it doesn’t overpower the subject. Portraits can often look washed out with too much flash. To tone down the flash’s effect, check your histogram and LCD before hitting the shutter. First, avoid using the built-in flash in low-light situations. Doing so can produce overexposed, flat images that have unwanted shadows. Instead, use external lighting such as a lamp or bonfire to illuminate your subject. Once you’ve taken the shot, you can fix any imperfections in the image using editing software. While your camera’s built-in flash is convenient, it’s not versatile enough for many different scenarios. It also always points directly at your subject, so it doesn’t give you a good range of movement.
Using a diffuser
When taking photos in low light, it’s important to know how to position your camera and use a diffuser to increase light intensity on the subject. The best way to set up a diffuser is to position it with the subject’s head facing the sun, tilting it downward. Holding it near the subject’s head adds depth and soft, flattering light to the shot.
Diffusers are inexpensive and versatile tools for photographers when shooting in low-light conditions. These white or translucent pieces of plastic or glass can diffuse harsh light. They help you avoid harsh contrast and fill in shadows. But, they only provide minimal benefits compared to the other lighting equipment. You’ll need a diffuser bigger than the light source you’ll be using. In addition, you’ll need to get a diffuser with a filter if you’re shooting in low light.
Using a lantern
Using a lantern for low-light photography can help you get some great shots in places that don’t get much sunlight. You can also try to take portrait-style images with this technique. Lanterns can be purchased locally or found online. Another fun low-light activity is creating traffic trails. You can blur the headlights of passing cars when using a slow shutter speed. This image is ideal for landscape shots and looks great when paired with another natural lighting.
Photographing with natural light is important for creating a more dramatic effect in low light. However, some challenges are associated with using low-light photography, including the lack of light. Therefore, photographers must learn how to work around these limitations and maximize the quality of their images. The first step is to ensure that you set your camera to RAW mode, which provides the highest quality image. Next, make sure that you use manual mode to allow yourself the most creative freedom.


